How do I install the Matomo tracking code on Wix?
Wix is one of the popular Content Management Systems to create websites which you may be using. Have you ever wondered how to track your Wix website’s visitors behaviour with Matomo Analytics. Follow the steps below and start measuring your visitors with Matomo and get valuable insights into your Wix website in minutes!
You’ll need a Wix.com account (at least Premium plan) and your Matomo instance (Self-hosted or Cloud).
Integrate Matomo Analytics in a Wix website
To add Matomo tracking code to Wix please follow the below steps:
-
Login to Wix and you will be redirected to your dashboard
-
Hover over the site where you want to add Matomo tracking code and click on “Select & Edit site”
-
Click on “Settings” on the left menu

-
Scroll down and click on “Advanced > Custom Code”

-
Click on “Add Custom code”

-
Copy Matomo Tracking Code, follow the steps below:
a. Login to Matomo
b. Click on “Admin (cog icon)” on the top right of your dashboard
c. Click on “Manage” under “Measurables”
d. Click on “View Tracking Code”
e. Scroll down and copy JavaScript tracking code -
Paste Matomo tracking code in the text box called “Paste the code snippet here”

-
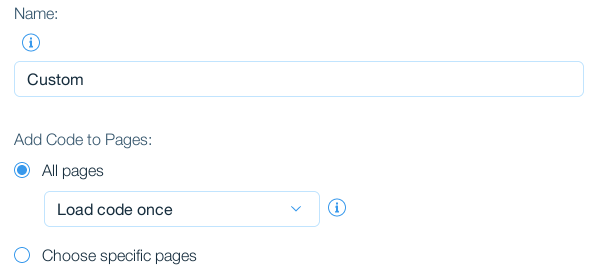
In the “Name” field you can name this code snippet for example: Matomo
-
In the “Add Code to Pages” please choose the suitable option for example: if you want to add code to “All pages” or “choose specific pages”

-
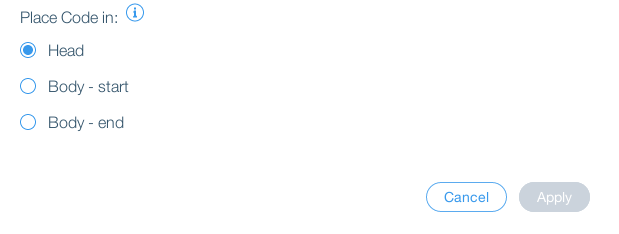
In the “Place Code in” option choose where to place the Matomo tracking code in your website. We recommend adding the code in the “Head”.

-
Click on “Code Type” on top of the “Add Custom Code” Window, choose the appropriate type

-
Click on “Apply”
-
Open your website in the browser and perform some actions (eg: navigate to different pages)
-
Login to Matomo and check if the website is tracked

Congratulations, you should now be successfully tracking your visitors on your Wix website. Happy Analytics!