How do I Install Matomo with Plesk
This guide will show you how to install Matomo via Plesk 18.0.21.
Prerequisites: PHP CLI and PHP MySQL PDO driver (or Mysqli driver) will need to installed and running.
Installation
If you already have a website configured you may want to create a subdomain for Matomo to be installed into (e.g matomo.example.com), alternatively you can create a folder called for example “matomo” and reference this folder for your installation (e.g example.com/matomo). This guide explains how to install Matomo using both methods.
-
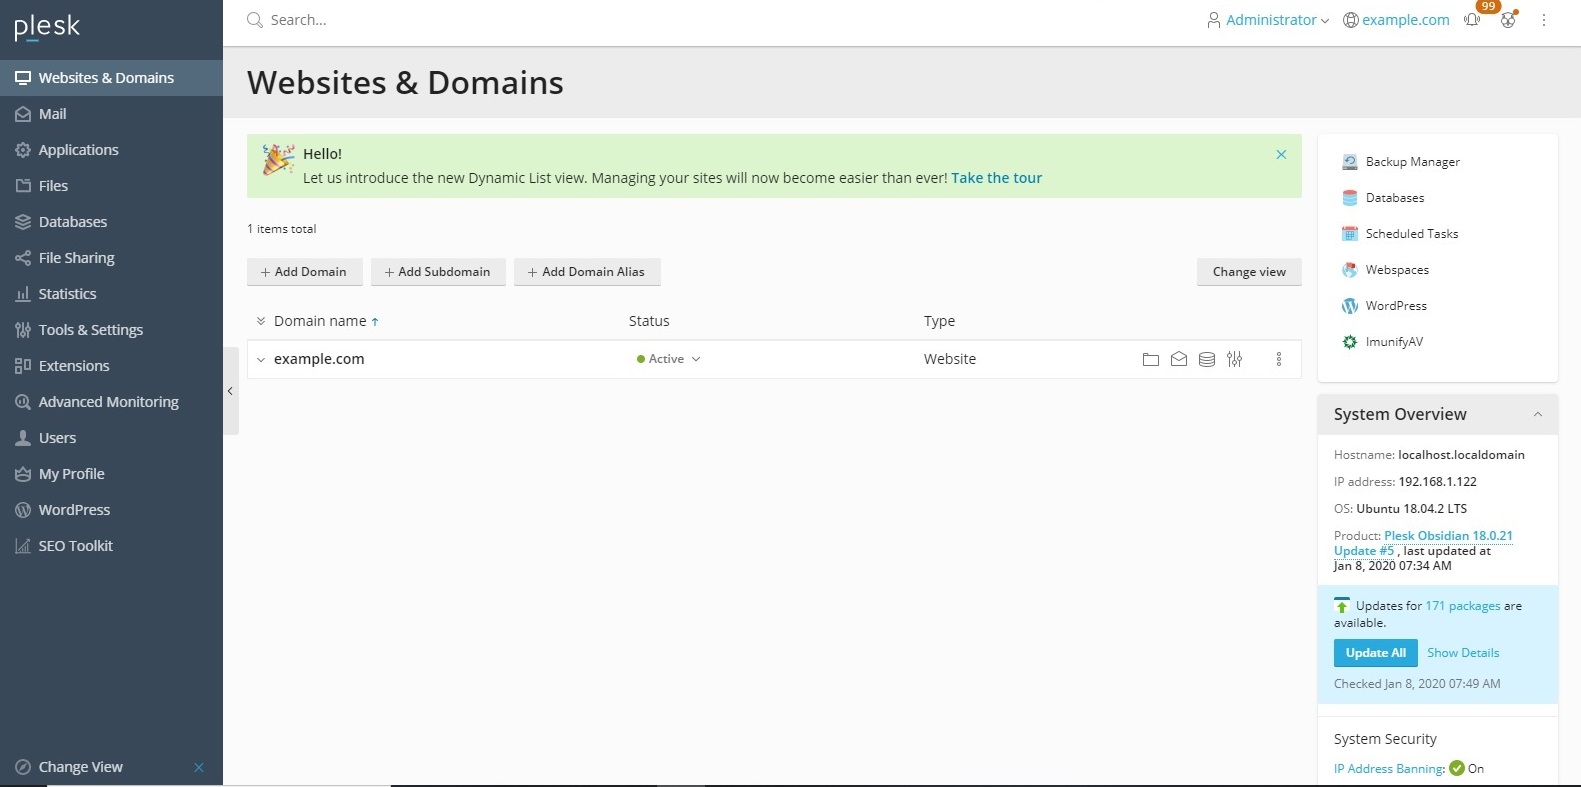
Login into your Plesk and choose Websites and domains from the left navigation menu.
-
Click on the Add subdomain from the buttons above the domains list (for subdomain method)

-
Create your Matomo subdomain

In this case we will create matomo.example.com. If you do not want to create a subdomain simply create a directory within your website. -
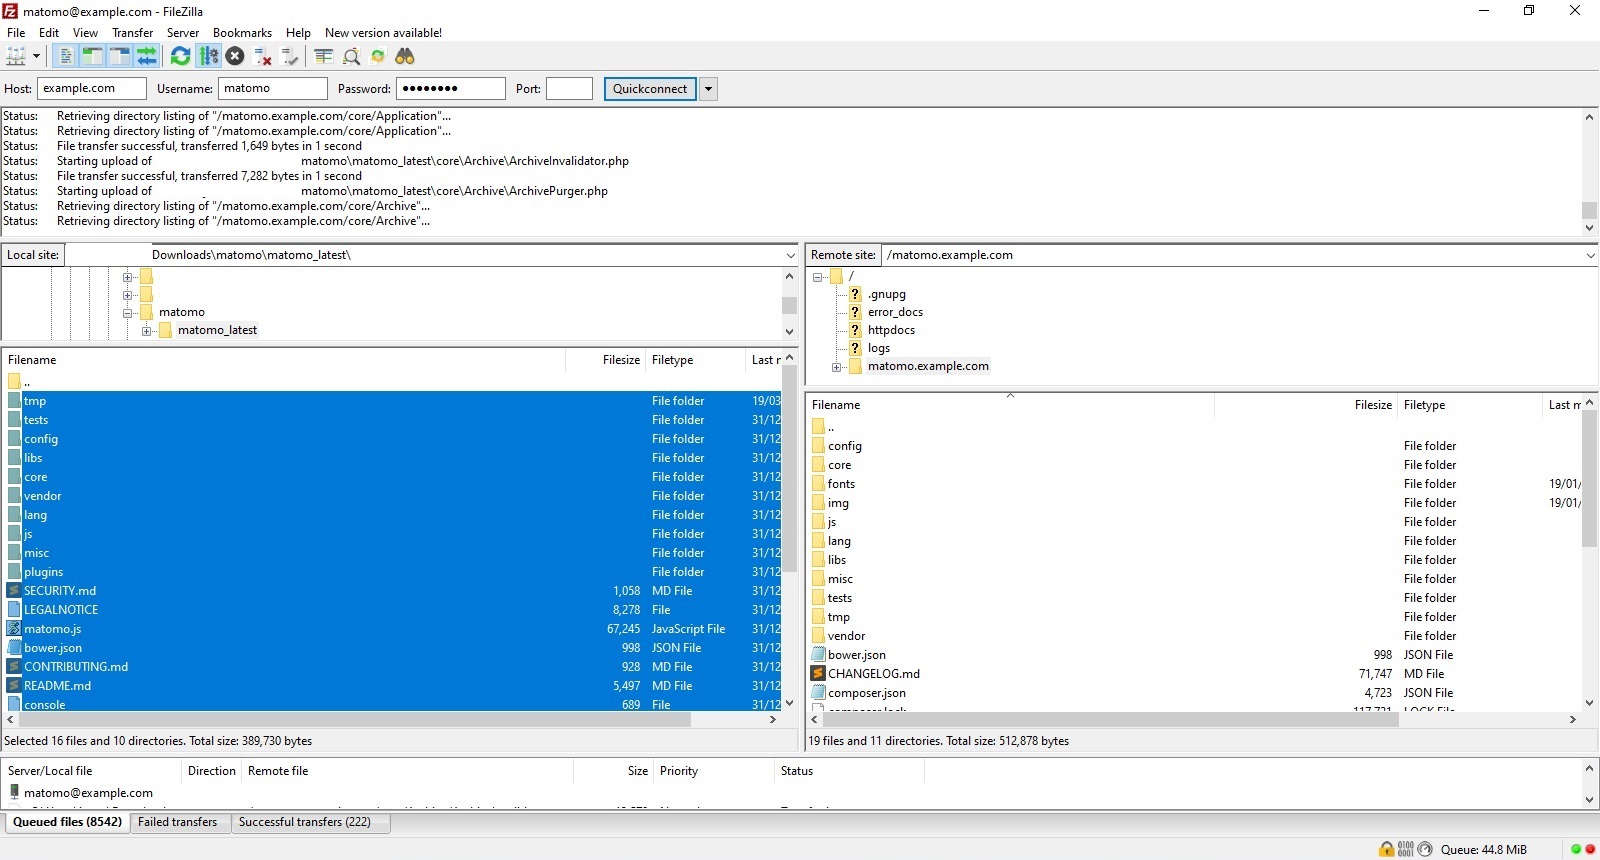
There are two methods to upload Matomo to Plesk
a. Using a tool like FileZilla upload the unzipped Matomo download into the subdomain or folder you have created. This method can take a long time to upload all the Matomo files.

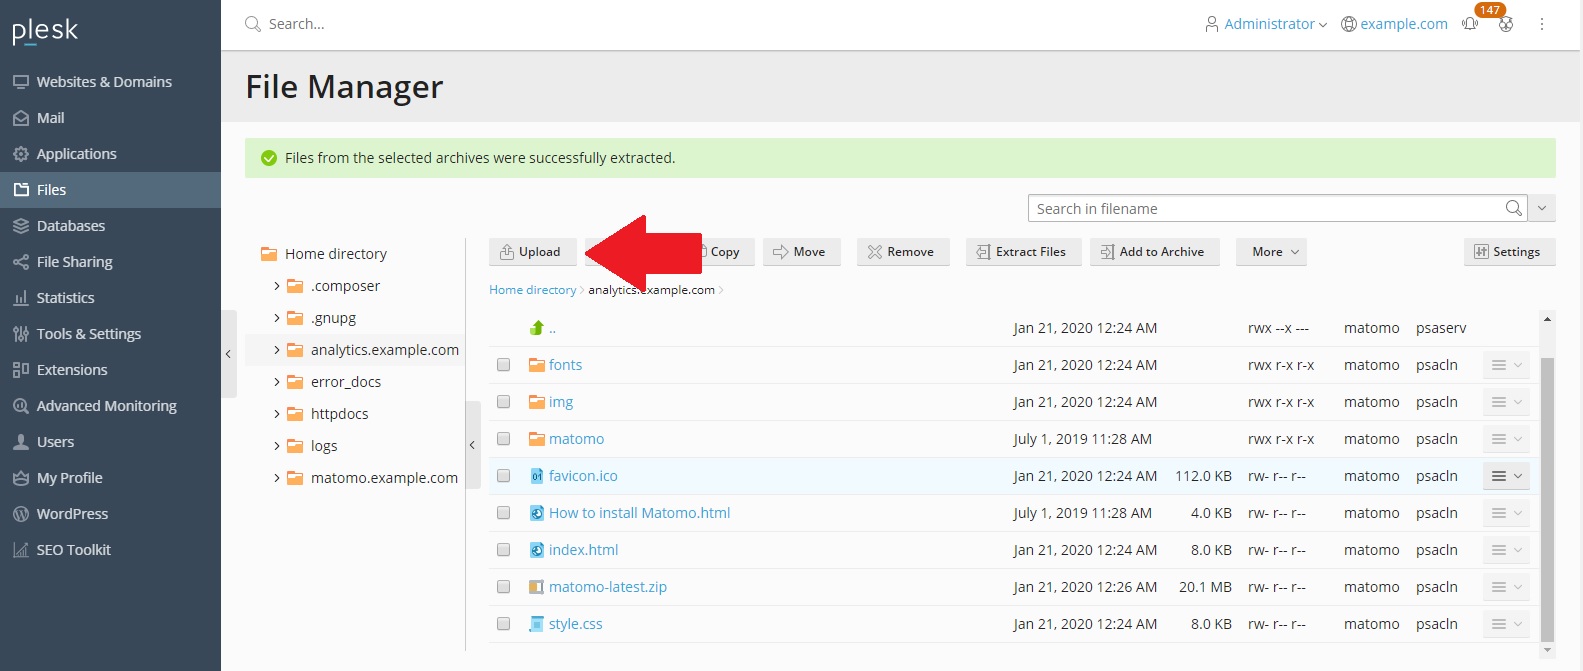
b. (Faster method) Upload the zip file using the file uploader option in Plesk.

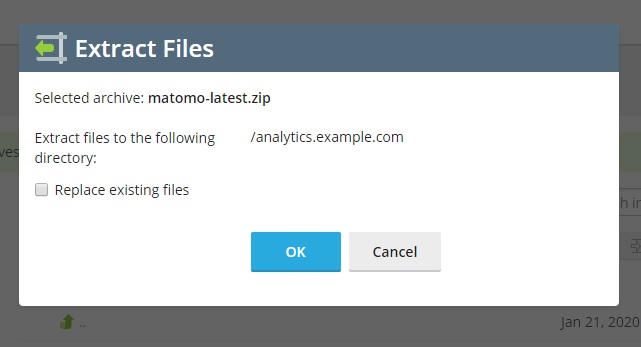
Select the matomo zip file, Plesk will ask for unzip location.

Click Ok to unzip Matomo. This can take some time depending on the performance of your web server. -
Once the files have been uploaded or unzipped, browse to your subdomain or folder containing the installation. This could be https://analytics.example.com in this example, or https://example.com/matomo if you have installed Matomo in a folder.
-
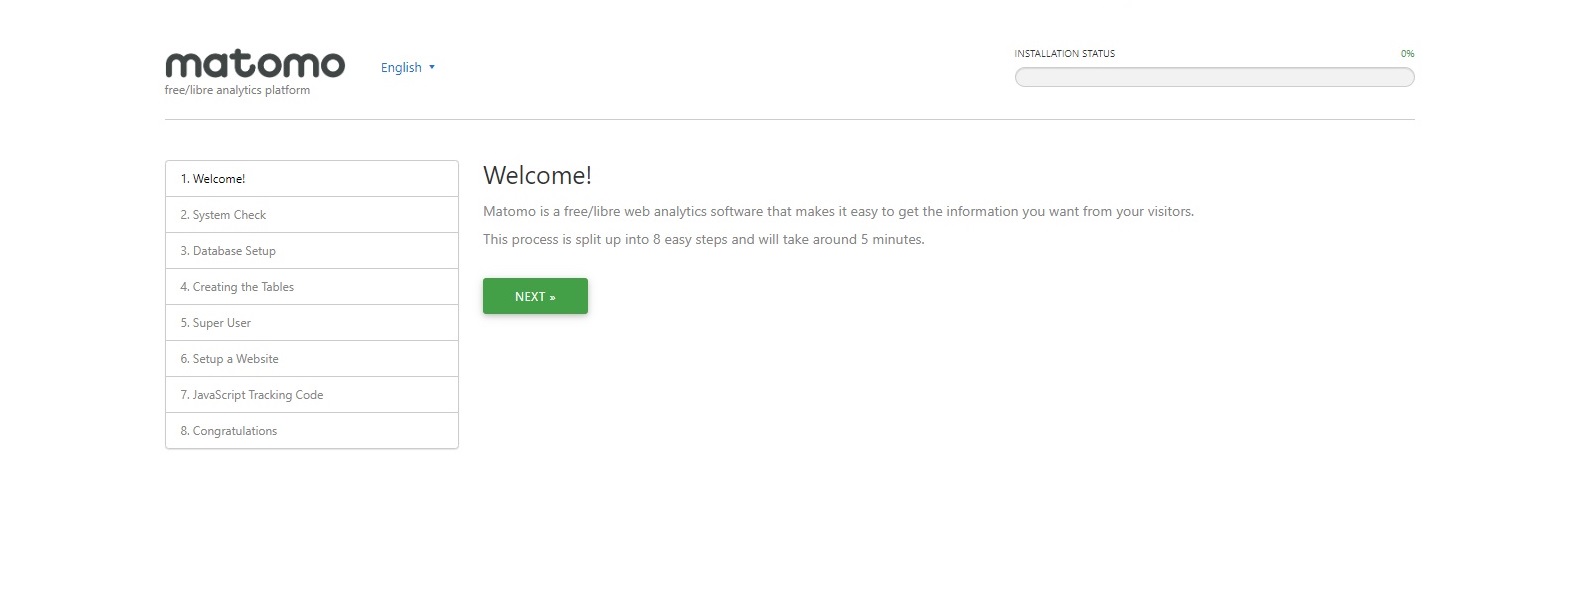
The installation procedure for Matomo will begin.

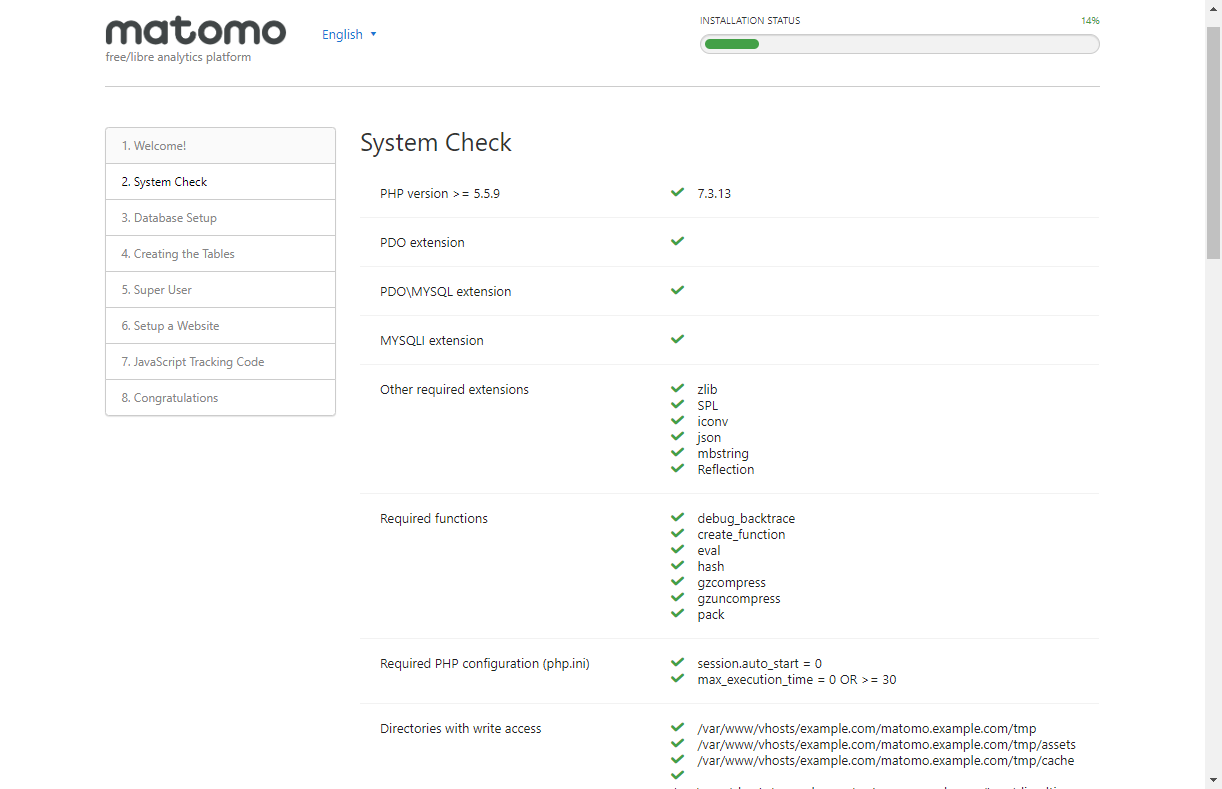
Check all the requirements are met for your installation.

-
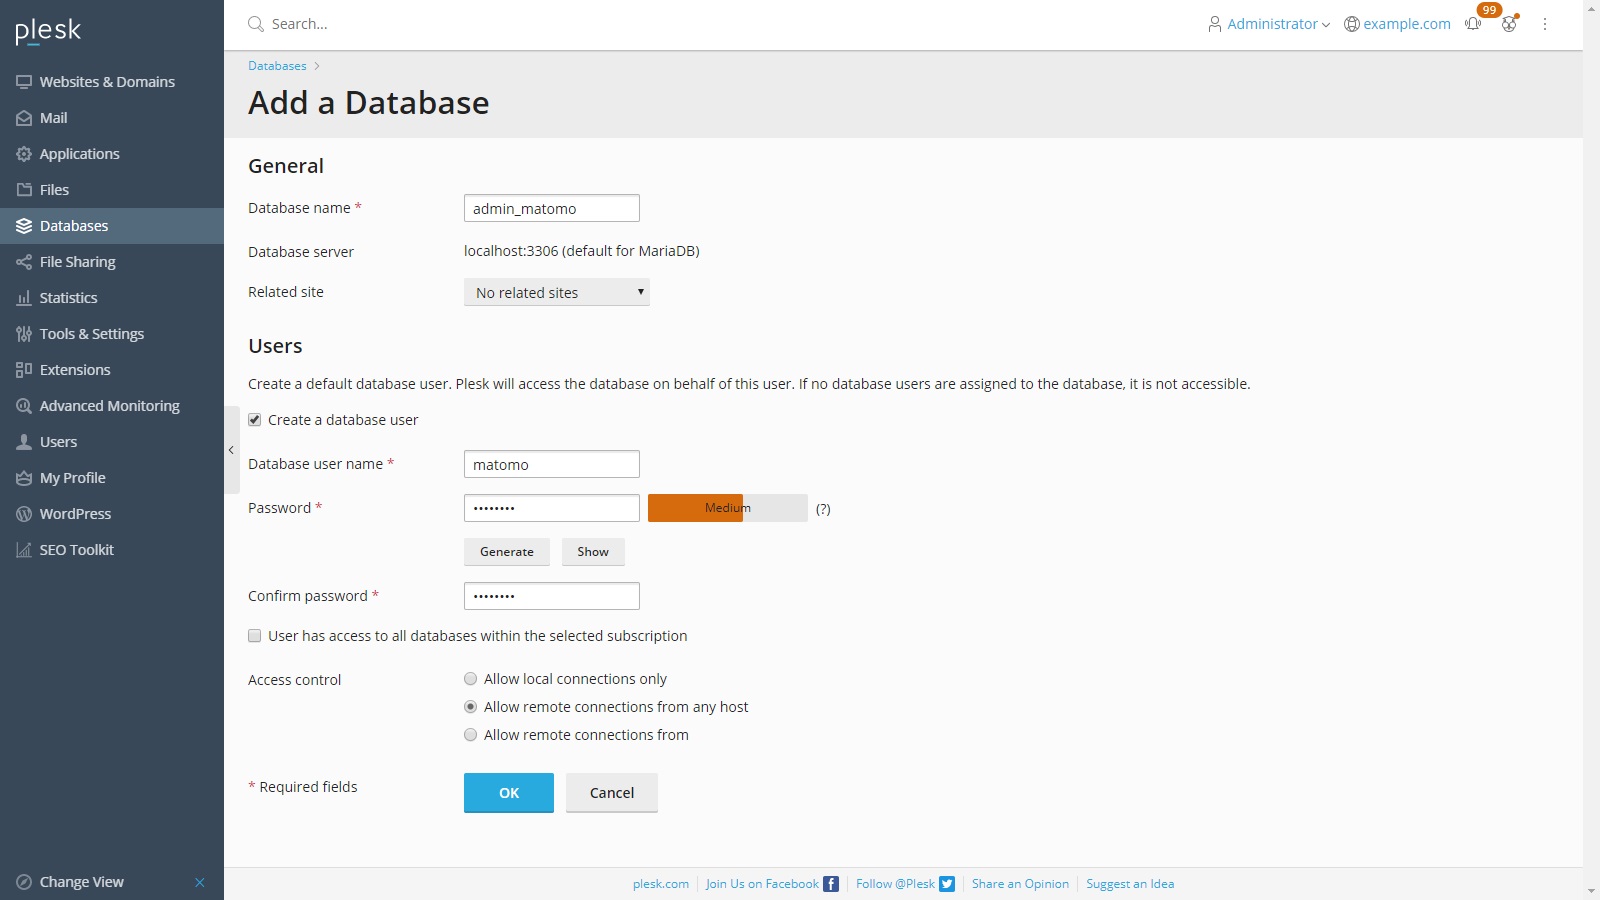
If all the requirements have been met, the next step is to create the Matomo database user and database. In Plesk, choose Databases from the left navigation menu. Then select Add database.

-
Create the database and user for the database.

Take note of the database server hostname, the database name, the database username and password: these details will be required during the installation. -
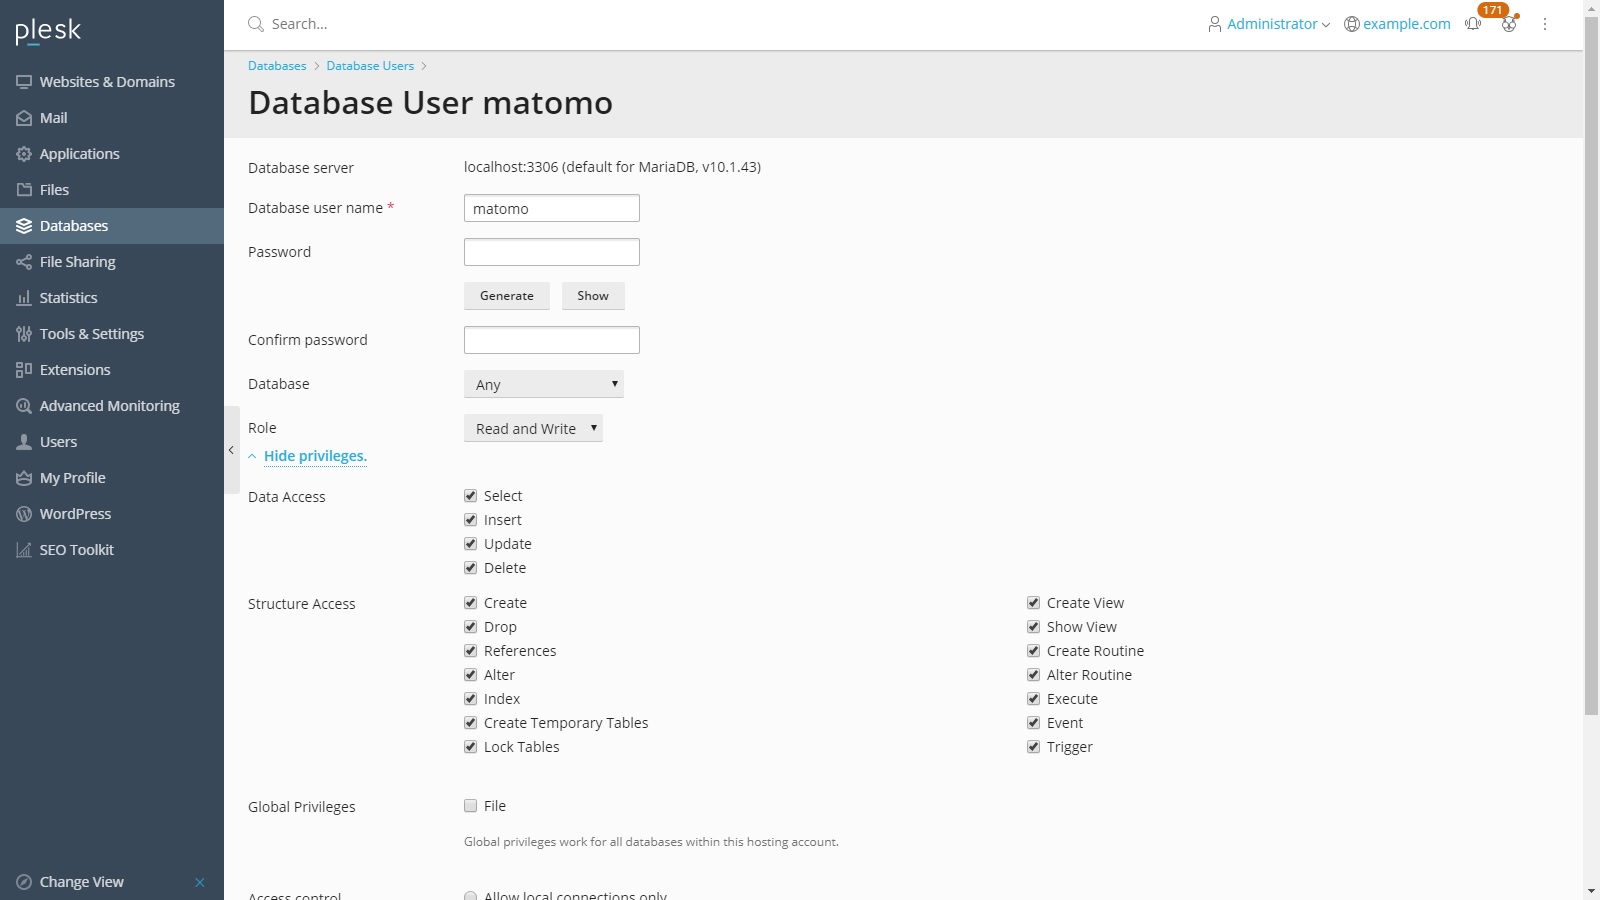
Confirm the user has all the privileges required to access the database.

-
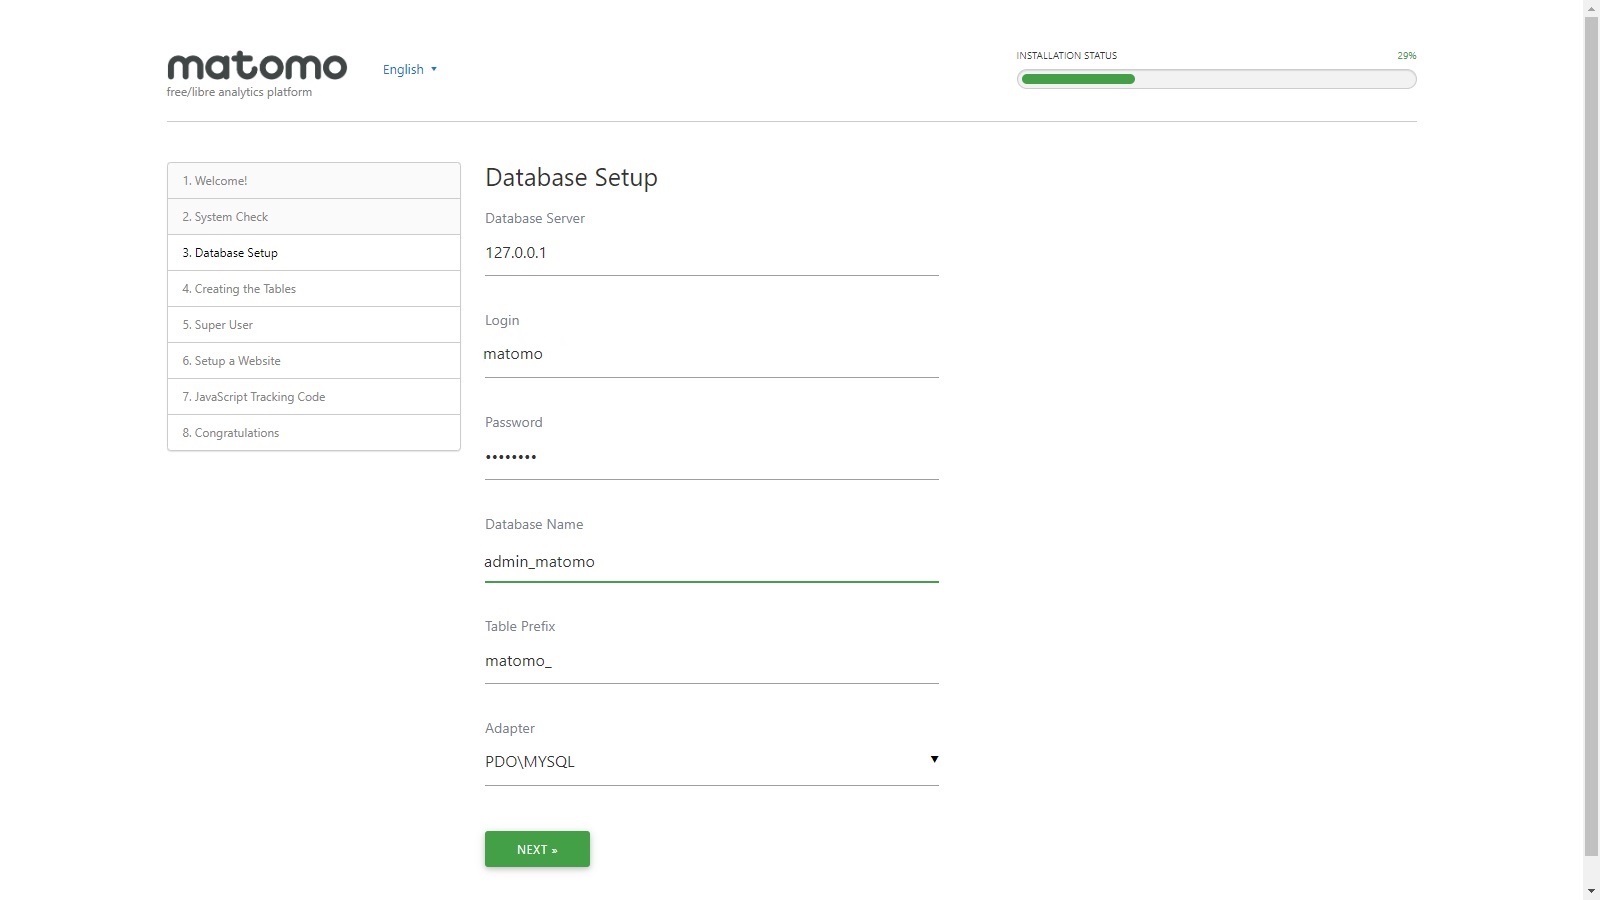
Return to the Matomo installation and enter the database details created in the above step.

-
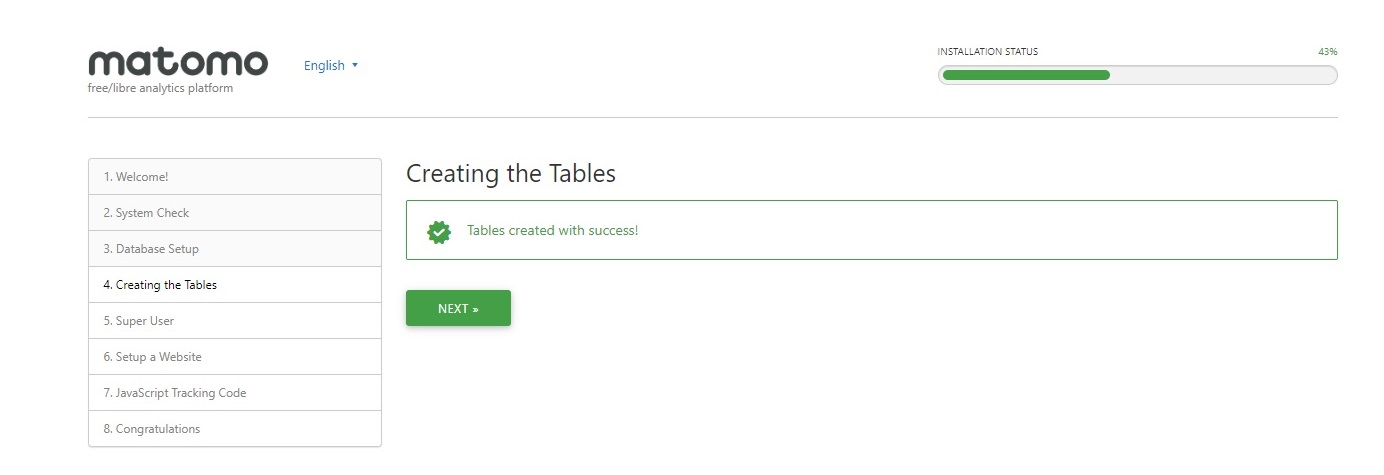
The tables will be created in the database. Confirm this has been successful.

-
Complete the rest of the installation.


Configuring the archiving
Now that the installation is complete, we will set up a scheduled task (cronjob) to trigger Matomo archiving
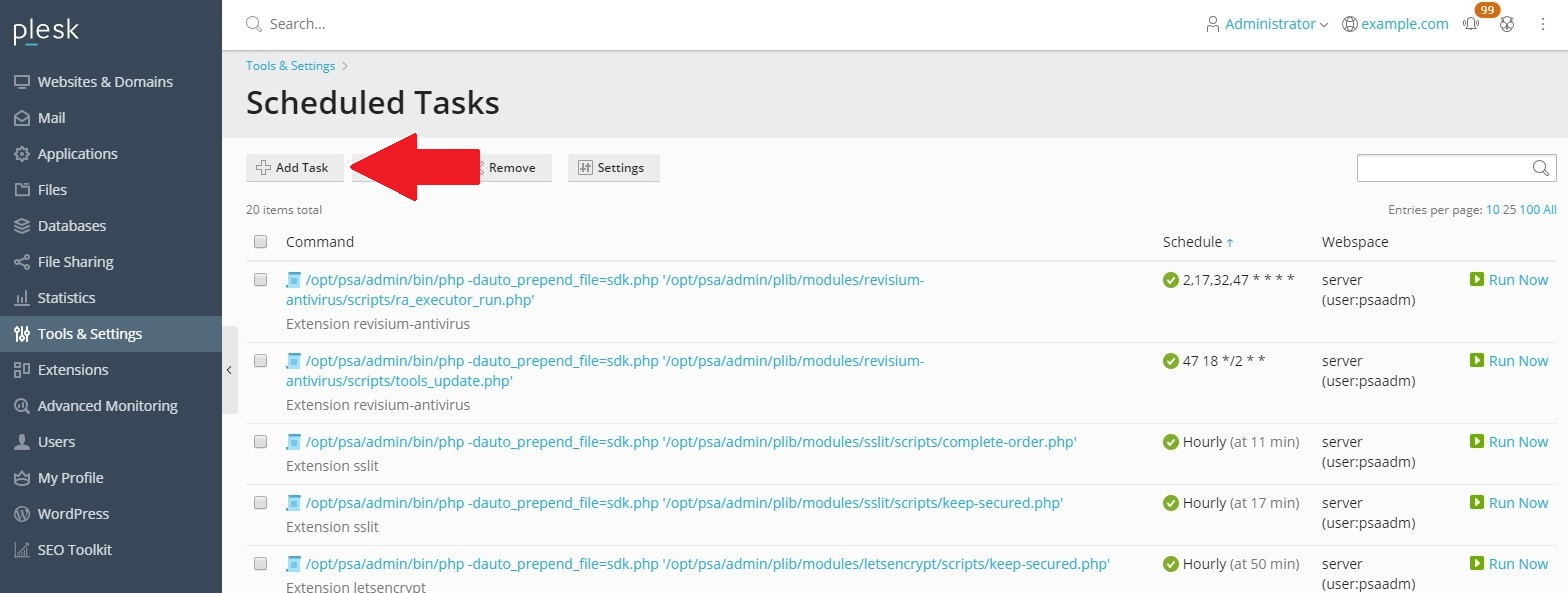
- Select Tools and Settings from the left-hand navigation menu.
- Select Scheduled task (Cron jobs) from the Tools and Resources menu.

- Select Add task

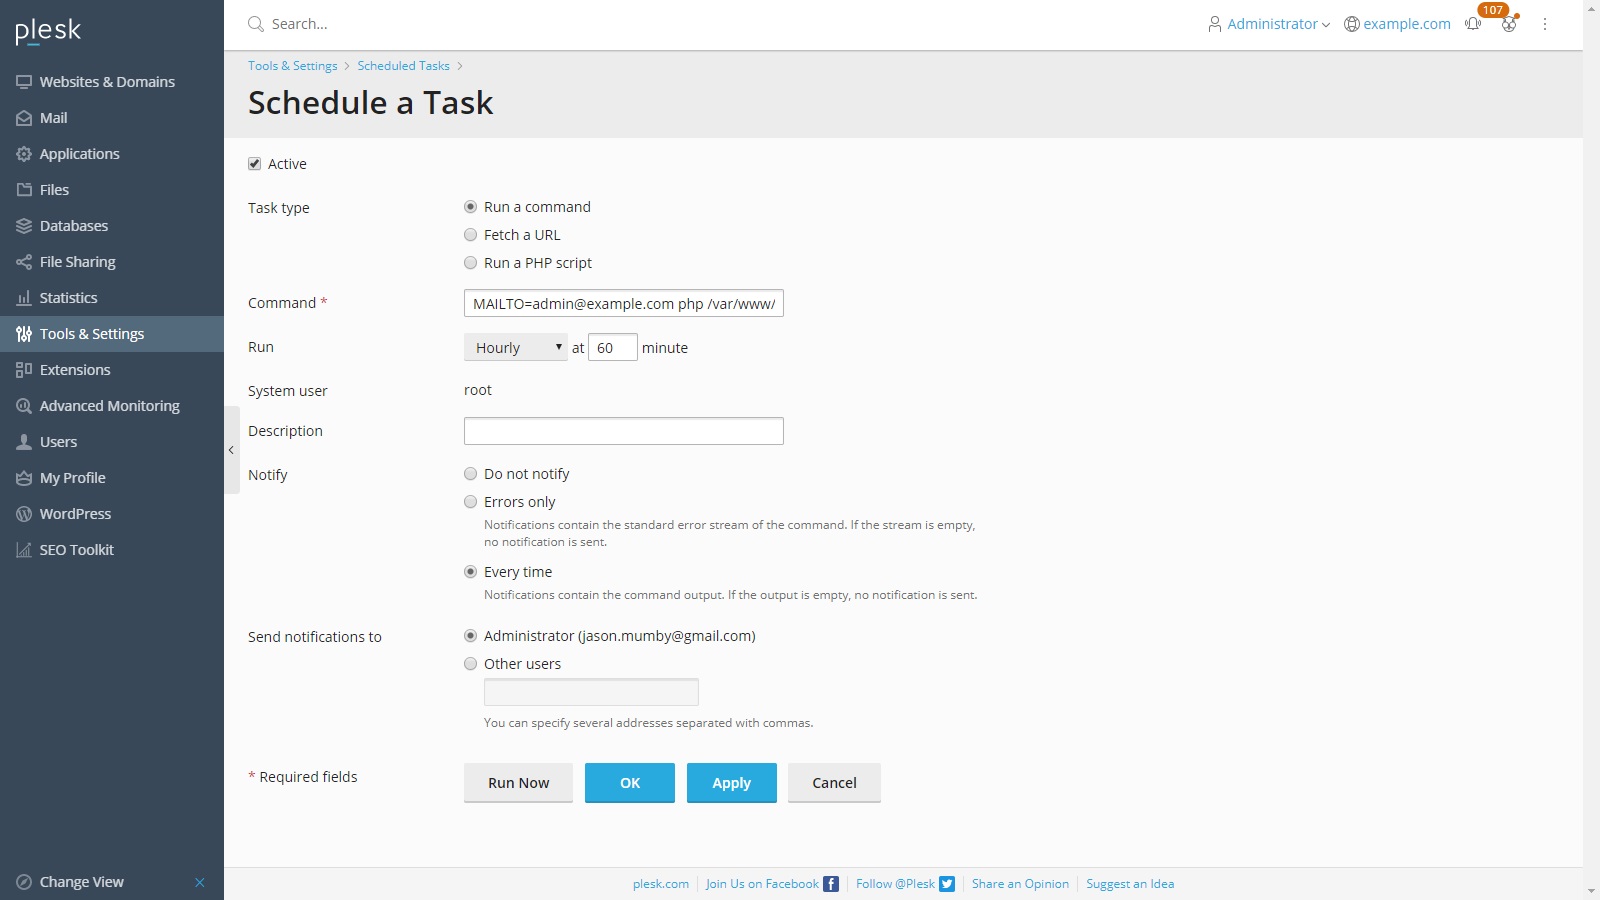
- Select Run a command.

- Enter the following command in the Command field, edit the command to match your needs first.
/opt/plesk/php/8.1/bin/php /var/www/vhosts/domain.com/httpdocs/console core:archive --no-ansi >> /var/www/vhosts/domain.com/logs/cron-matomo-archive.log
The path typically for Plesk will be/var/www/vhosts/domain. If you are on shared hosting, please check with your hosting company. The path to the cron-matomo-archive.log file can be to a folder of your choice (for example in/var/www/) - Set the frequency to “Run Hourly” as we want the cron to run every hour.
- Set “Notify” to “Every time”.
- Select Run Now and confirm the cron job is running successfully. Click ok to save the cron job, the cron job should now be listed in the configured cron jobs.

Disable Web Application Firewall (ModSecurity)
If you have enabled Web Application Firewall (ModSecurity) in Plesk, you will need to disable it for your Matomo domain:
steps:
- In Plesk, in the left sidebar, click Websites & Domains.
- Select the Matomo domain, and then click Web Application Firewall.
- In the Web application firewall mode section, click Off
- Click OK. Plesk will disable the Web Application Firewall for your Matomo domain.
Congratulations, you have successfully installed Matomo Analytics through your Plesk!
Install the JavaScript Tracking code in your website
The next step is to include the Matomo Tracking Code in your websites to start tracking your website and app users.
Happy Analytics!