How to import Matomo data into Looker Studio
Matomo tracks a lot of valuable data about the behaviour of your website visitors. If you’ve ever wondered about how to visualise the data tracked by Matomo in a third party tool like Google Looker Studio (formerly Data Studio), then this guide will take you through the steps to connect your Matomo to Looker Studio.
Note: Matomo released an official community connector. This is the recommended way for most users to connect to Looker Studio. Learn more about the new connector here.
With Matomo On-Premises – especially when you have access to the database, it is easy to connect Matomo to Looker Studio using MySQL connector. The challenge is when you do not have access to the database. Here is the workaround of importing data in Looker Studio using Google Sheets.
Note: Some Matomo reports contain a lot of data that Google Sheets may not accept without further modification of the sheet. The code supplied is not supported by Matomo as this is just an example of how to achieve the connection.
Creating a script that calls Matomo API and import data in Google Spreadsheets
Matomo API gives you the ability to export all the data into multiple formats. How to export?
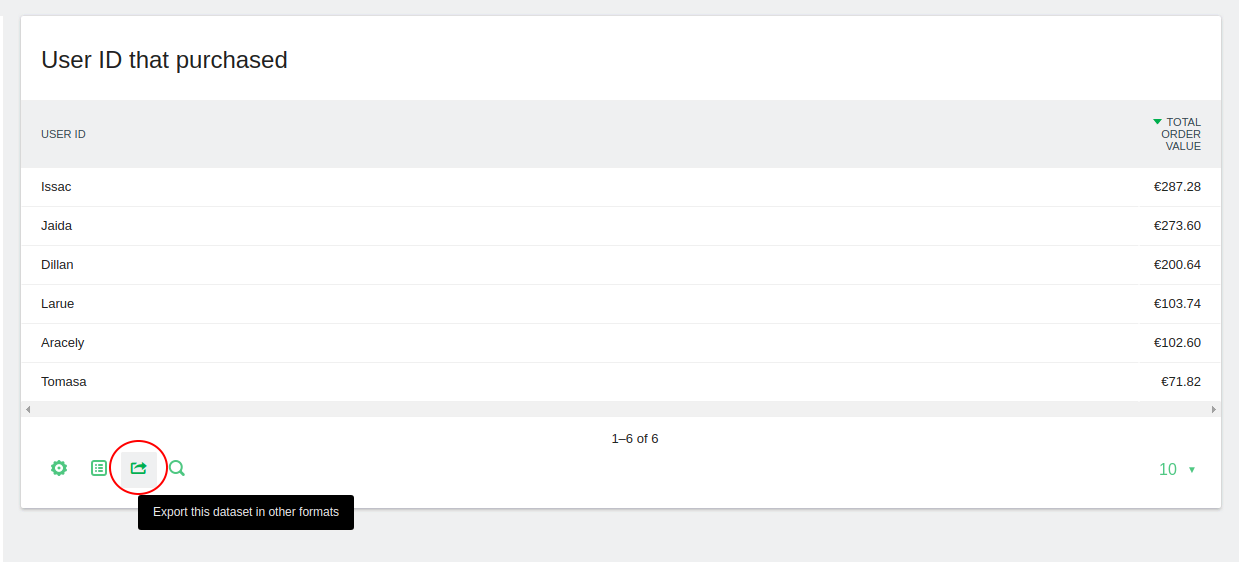
In the example below, we are going to export a Custom report.
1. Click on the Export icon.
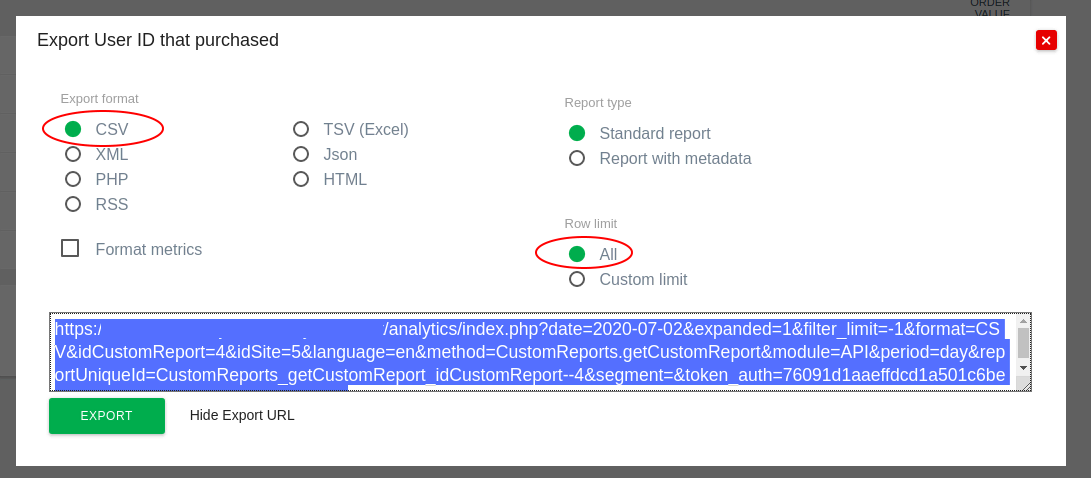
2. Choose CSV under Export Format, choose All under Row Limit, click Show Export URL and then copy the Export URL.
Important note: The token_auth that you see on this export screen is a session token_auth that will only be valid while you are logged in. Follow our guide to generate a token_auth.. Ensure the ‘token_auth’ does not have the option enabled for Only allow secure requests. This is especially important when using integrations that send tracking or reporting requests via GET. Read more about token behaviour with GET and POST requests.
Once you’ve generated an token_auth, you will need to insert the new token_auth that you created in the URL below, for example: &token_auth=your_new_auth_token_here
3. Open a blank Google Sheet and name it appropriately.

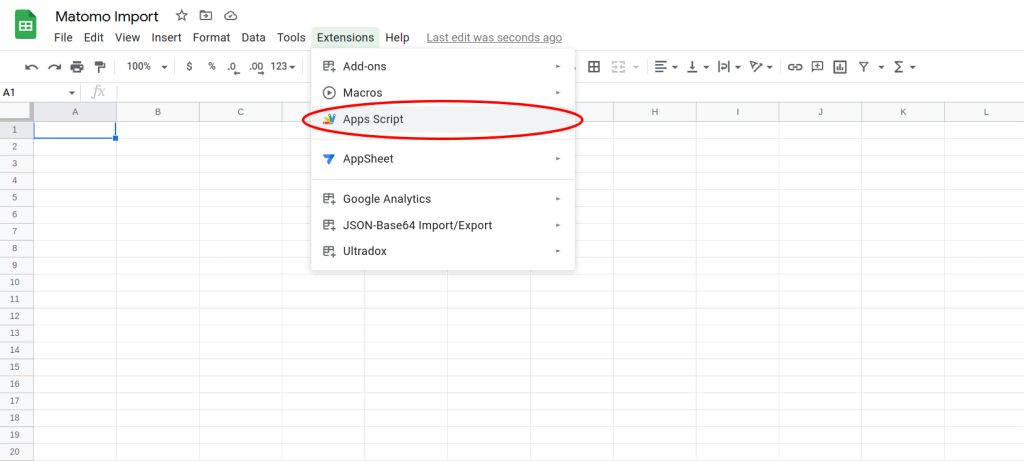
4. Click on Extensions > Apps Script.
5. In the Script Editor, paste the code find below. The code supplied is not supported nor created by Matomo as this is just an example of how to achieve the connection.
function myFunction() {
  var csvUrl = "EXPORT_URL";
  var csvContent = UrlFetchApp.fetch(csvUrl).getContentText();
  var csvData = Utilities.parseCsv(csvContent);
  var sheet = SpreadsheetApp.getActiveSheet();
  sheet.getRange(1, 1, csvData.length, csvData[0].length).setValues(csvData);
}
6. Replace the EXPORT_URL in the above code with the URL copied in STEP 2 and append &convertToUnicode=0 at the end of the URL. Note: you can use &date=yesterday if you just want to report on “yesterday’s” data.
7. Append to the EXPORT_URL the following URL parameter: &convertToUnicode=0 at the end of the URL.
8. Rename the Project and click the Save icon.
9. Click on the Run icon and when prompted, proceed and give the script authorisation to connect to an external service.
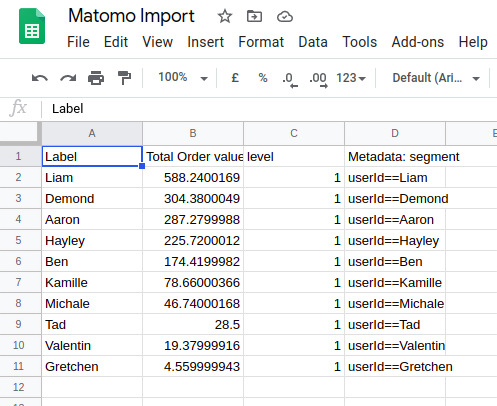
10. Data should be imported in the Google Sheets at this instance. You would need to run this manually each time to have data imported into Looker Studio.
Note: To automate the above task or schedule to import the data in a timely manner, you may need to configure a trigger in Looker Studio. For example, create a report daily for the previous day so you could run the script at midnight every night. The script replaces any existing data and you may want to alter the script to create a different spreadsheet each time or append this spreadsheet.
Next, we’re going to create a trigger to automate the import process into the Google Sheets
Creating a Trigger (Optional)
If you don’t wish to create a trigger, you can skip to Connect to Looker Studio
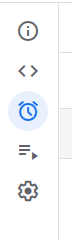
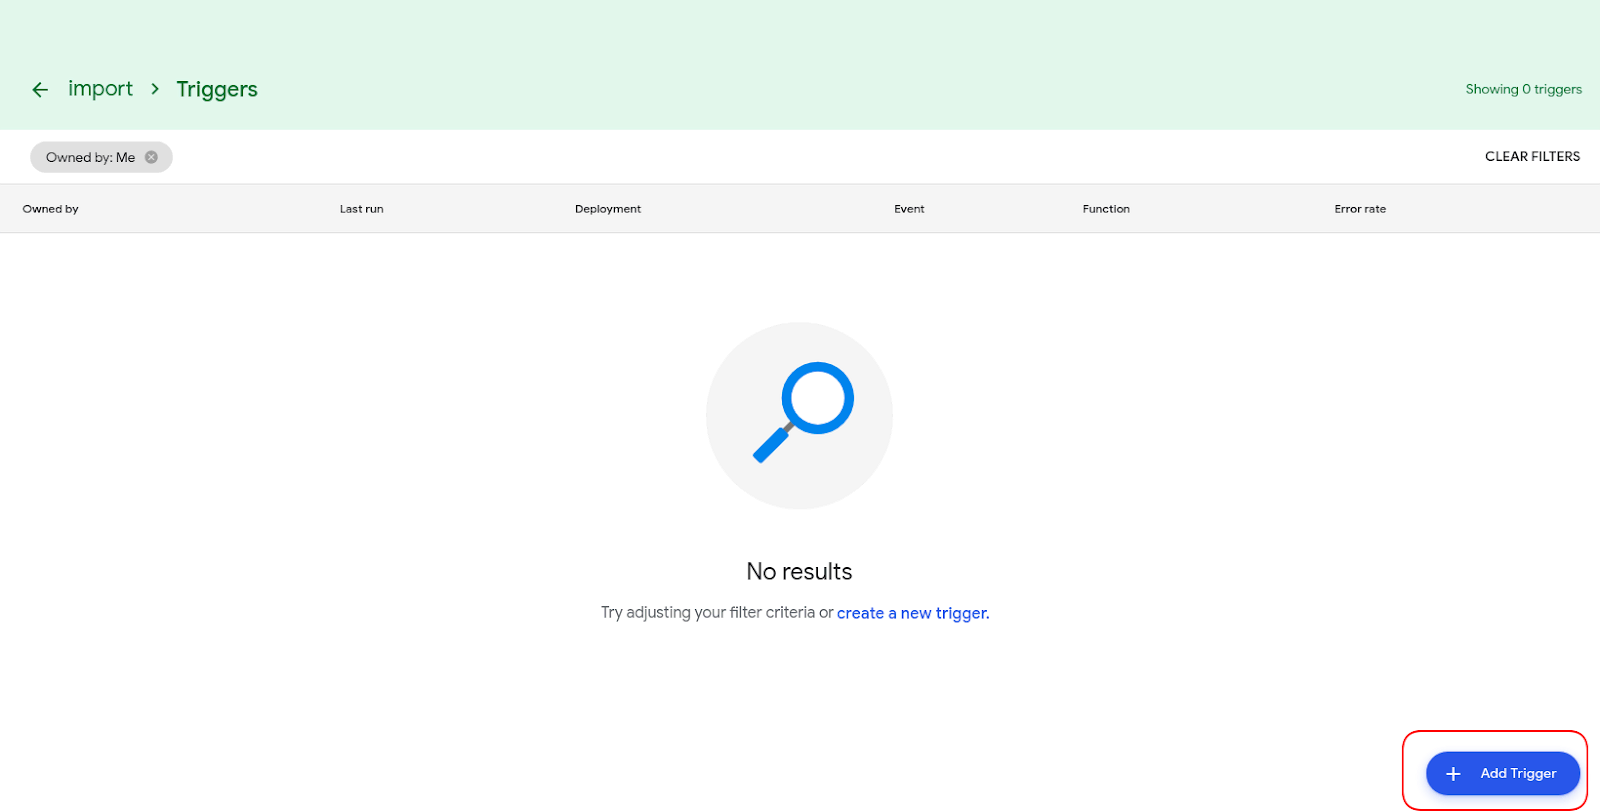
1. Hover over the clock icon on the left. Click on Triggers.
2. Click Add Trigger.
3. Choose the frequency to run the import.
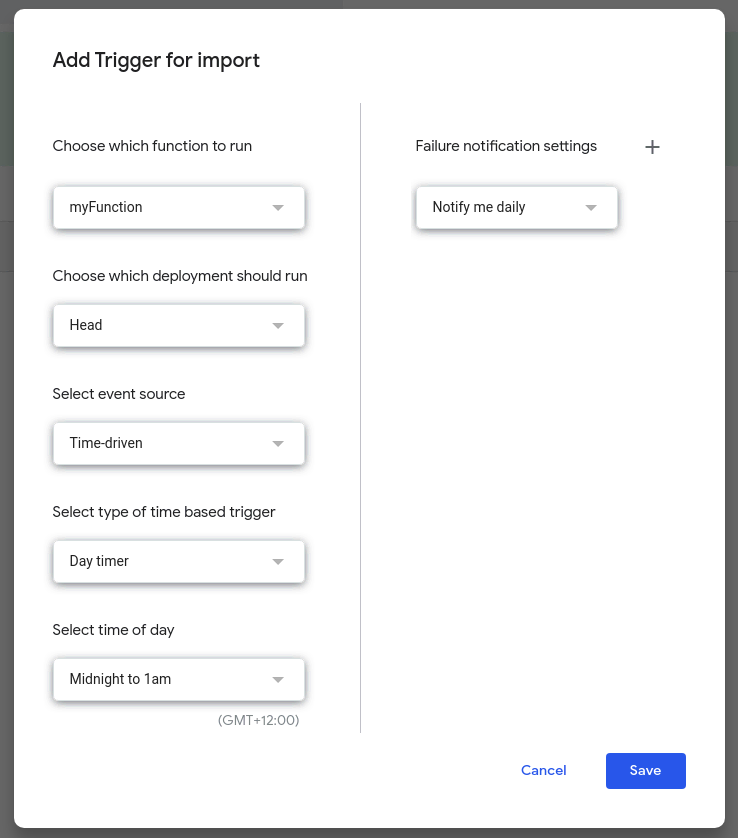
4. Save the Trigger.
Connect the Google Sheet to Looker Studio
1. Open Looker Studio.
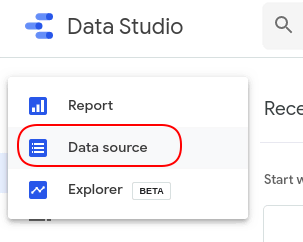
2. Click on Create.
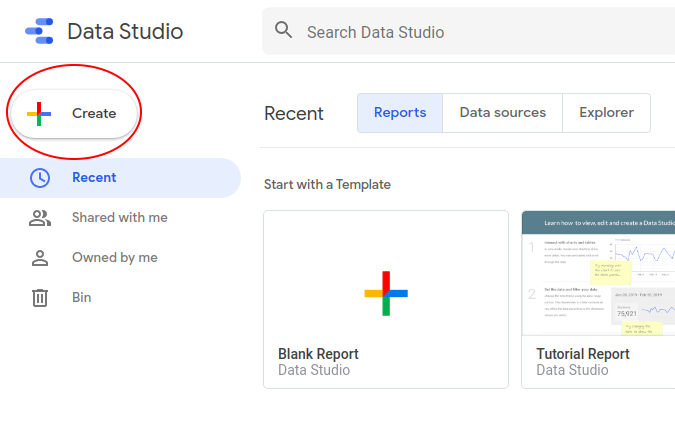
3. Choose Data source.
4. Click Google Sheets, you may need to authorise Looker Studio to gain access.

5. Select the spreadsheet created earlier (see section above) and leave the default options selected and click on Connect.

6. For each field, check that the correct data type is selected or update it appropriately.
7. Click Create Report.

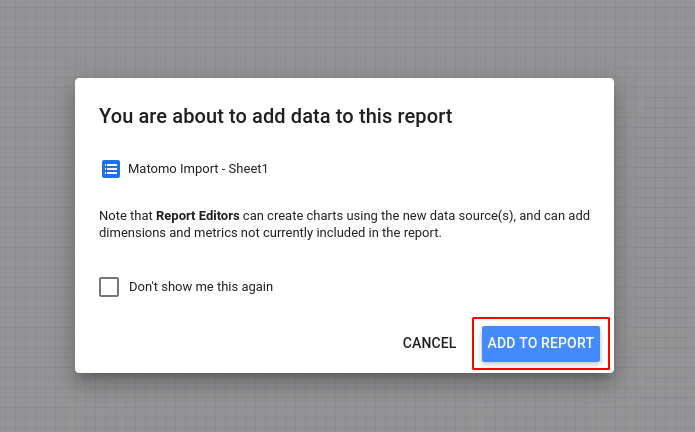
8. Click on Add to report.
9. You should now see the report with the data added.

Congratulations, you can now import and visualise your websites and visitors data within Google Looker Studio.