How to configure the tracking URL and ID Site in Matomo Tag Manager?
If you’ve realised that your Matomo Tag Manager URL is incorrect and needs correction, don’t worry; it’s a straightforward process. Follow these steps to ensure your Matomo Tag Manager URL is accurate:
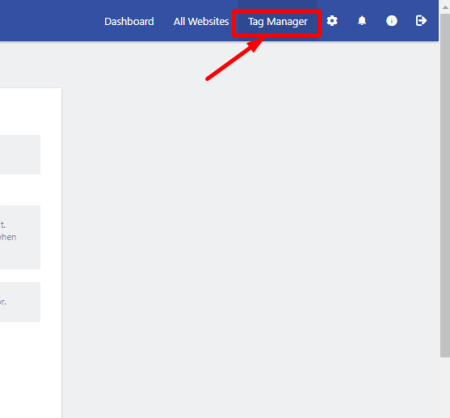
Step 1: Access Matomo “Tag Manager”
- Start by logging into your “Matomo Dashboard”.
- Once logged in, navigate to Matomo Tag Manager. You can find it in the menu on the right-hand side of your Matomo Dashboard. Click on “Tag Manager”.
Step 2: Create a New Variable
- After accessing Matomo Tag Manager, you’ll want to click on the “Variables” tab. Variables in Matomo Tag Manager help you dynamically configure your tags.
- Next, create a new variable. This variable will allow you to configure your Matomo Configuration settings, including the Matomo Tag Manager URL.
- Note: If you’ve already configured a Matomo Configuration Variable, then you’ll need to click “Edit” on your existing configuration variable.

Step 3: Select Matomo Configuration
- Now, you’ll need to choose the variable type. Since you want to correct the Matomo Tag Manager URL, select “Matomo Configuration” from the available options.

Step 4: Configure the Matomo Tag Manager URL
- You will now be presented with a configuration screen for your Matomo Tag Manager URL. Here, you can enter the correct URL for your Matomo Tag Manager.
- Make sure to enter the accurate URL that you want to use.
Step 5: Save Your Configuration
- After entering the correct Matomo Tag Manager URL, be sure to save your configuration settings. This ensures that the changes take effect.
Step 6: Publish your changes
- Once your changes are saved, be sure to Publish a new version of the container.
That’s it! You’ve successfully corrected your Matomo Tag Manager URL. Your Matomo Tag Manager will now use the updated URL for tracking and managing tags.
Note: Please keep in mind that these steps are applicable once you have created a container in Matomo Tag Manager. If you haven’t set up a container yet, make sure to create one before following these instructions.