How do I install the Matomo tracking code on WordPress?
It’s easy to add Matomo tracking to your WordPress site. You can either use the easy WordPress plugin (using the steps below), install the JavaScript code (using this guide), or install an image beacon (using this guide).
Requirements
- A Matomo account: Cloud or On-Premise (self-hosted).
- Administrator account in WordPress
- WordPress.com site with a Business, Commerce or Enterprise plan, or a Self-hosted WordPress site.
Steps to start tracking in Matomo
-
Install the “Connect Matomo (WP-Matomo)” plugin in your WordPress.
- Log in to your WordPress site as the administrator.
- In the left menu, Click on “Plugins” > “Add new” (if you can’t see the “Plugins” menu, then you can instead follow these steps to insert the Matomo tracking code manually in your WordPress Theme files).
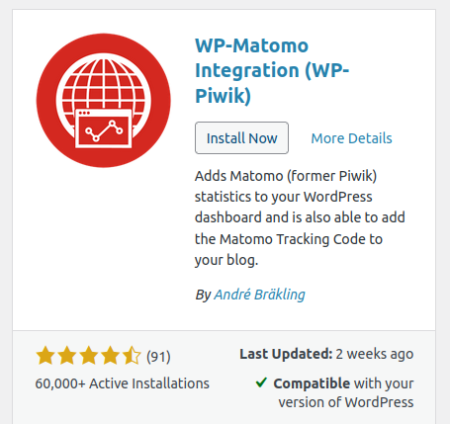
- Search for “Connect Matomo” in the Keyword field in the “Add Plugins” page.

- click on “Install Now” next to the “Connect Matomo” plugin

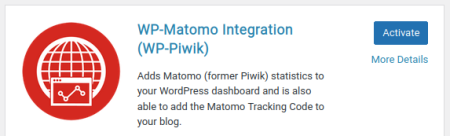
- Now that the plugin is successfully installed, click on “Activate”.

-
In the left menu, click “Settings” > “WP-Matomo”.

-
In the “Matomo Mode” dropdown, select the option “Self hosted (HTTP API, default)”.

-
In the “Matomo URL” text field, enter your Matomo URL, for example
https://analytics.example.com. -
In the “Auth token” text field, enter your Matomo authentication token. How to find Auth Token.
-
Confirm the “Auto config” checkbox is selected and click on “Save Changes”.
-
You should see “Connect Matomo is successfully connected to Matomo” message. If you do not see the message, make sure the values you provided in the previous steps are correct, and try again.
-
Click on the “Enable Tracking” tab.
-
In the “Add tracking code” dropdown, select “Default tracking”.

-
Click on “Save Changes” and a success message will appear.


Congratulations, you should now be successfully tracking visitors with Matomo Analytics through your WordPress site! Happy Analytics.